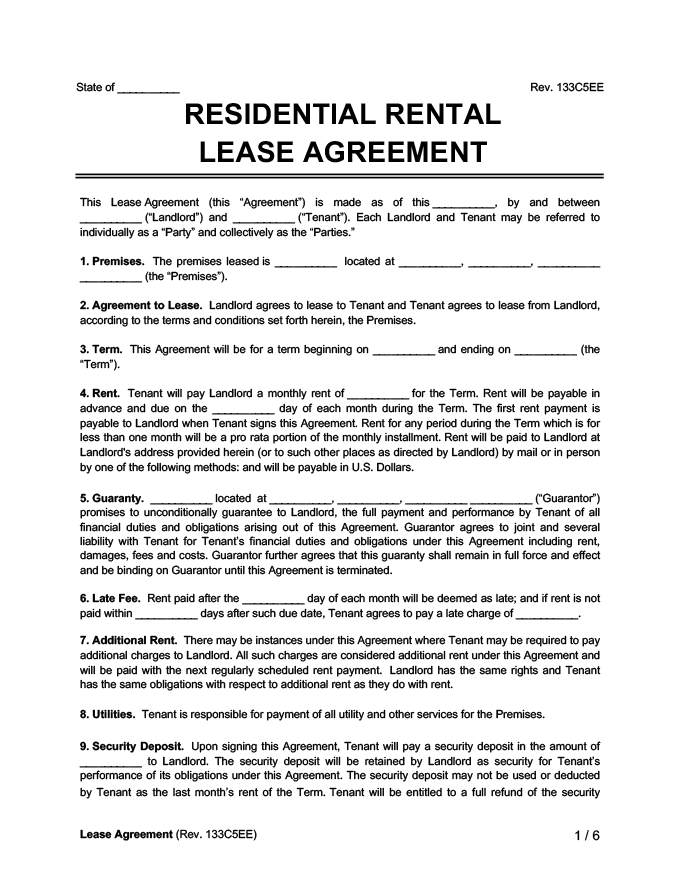
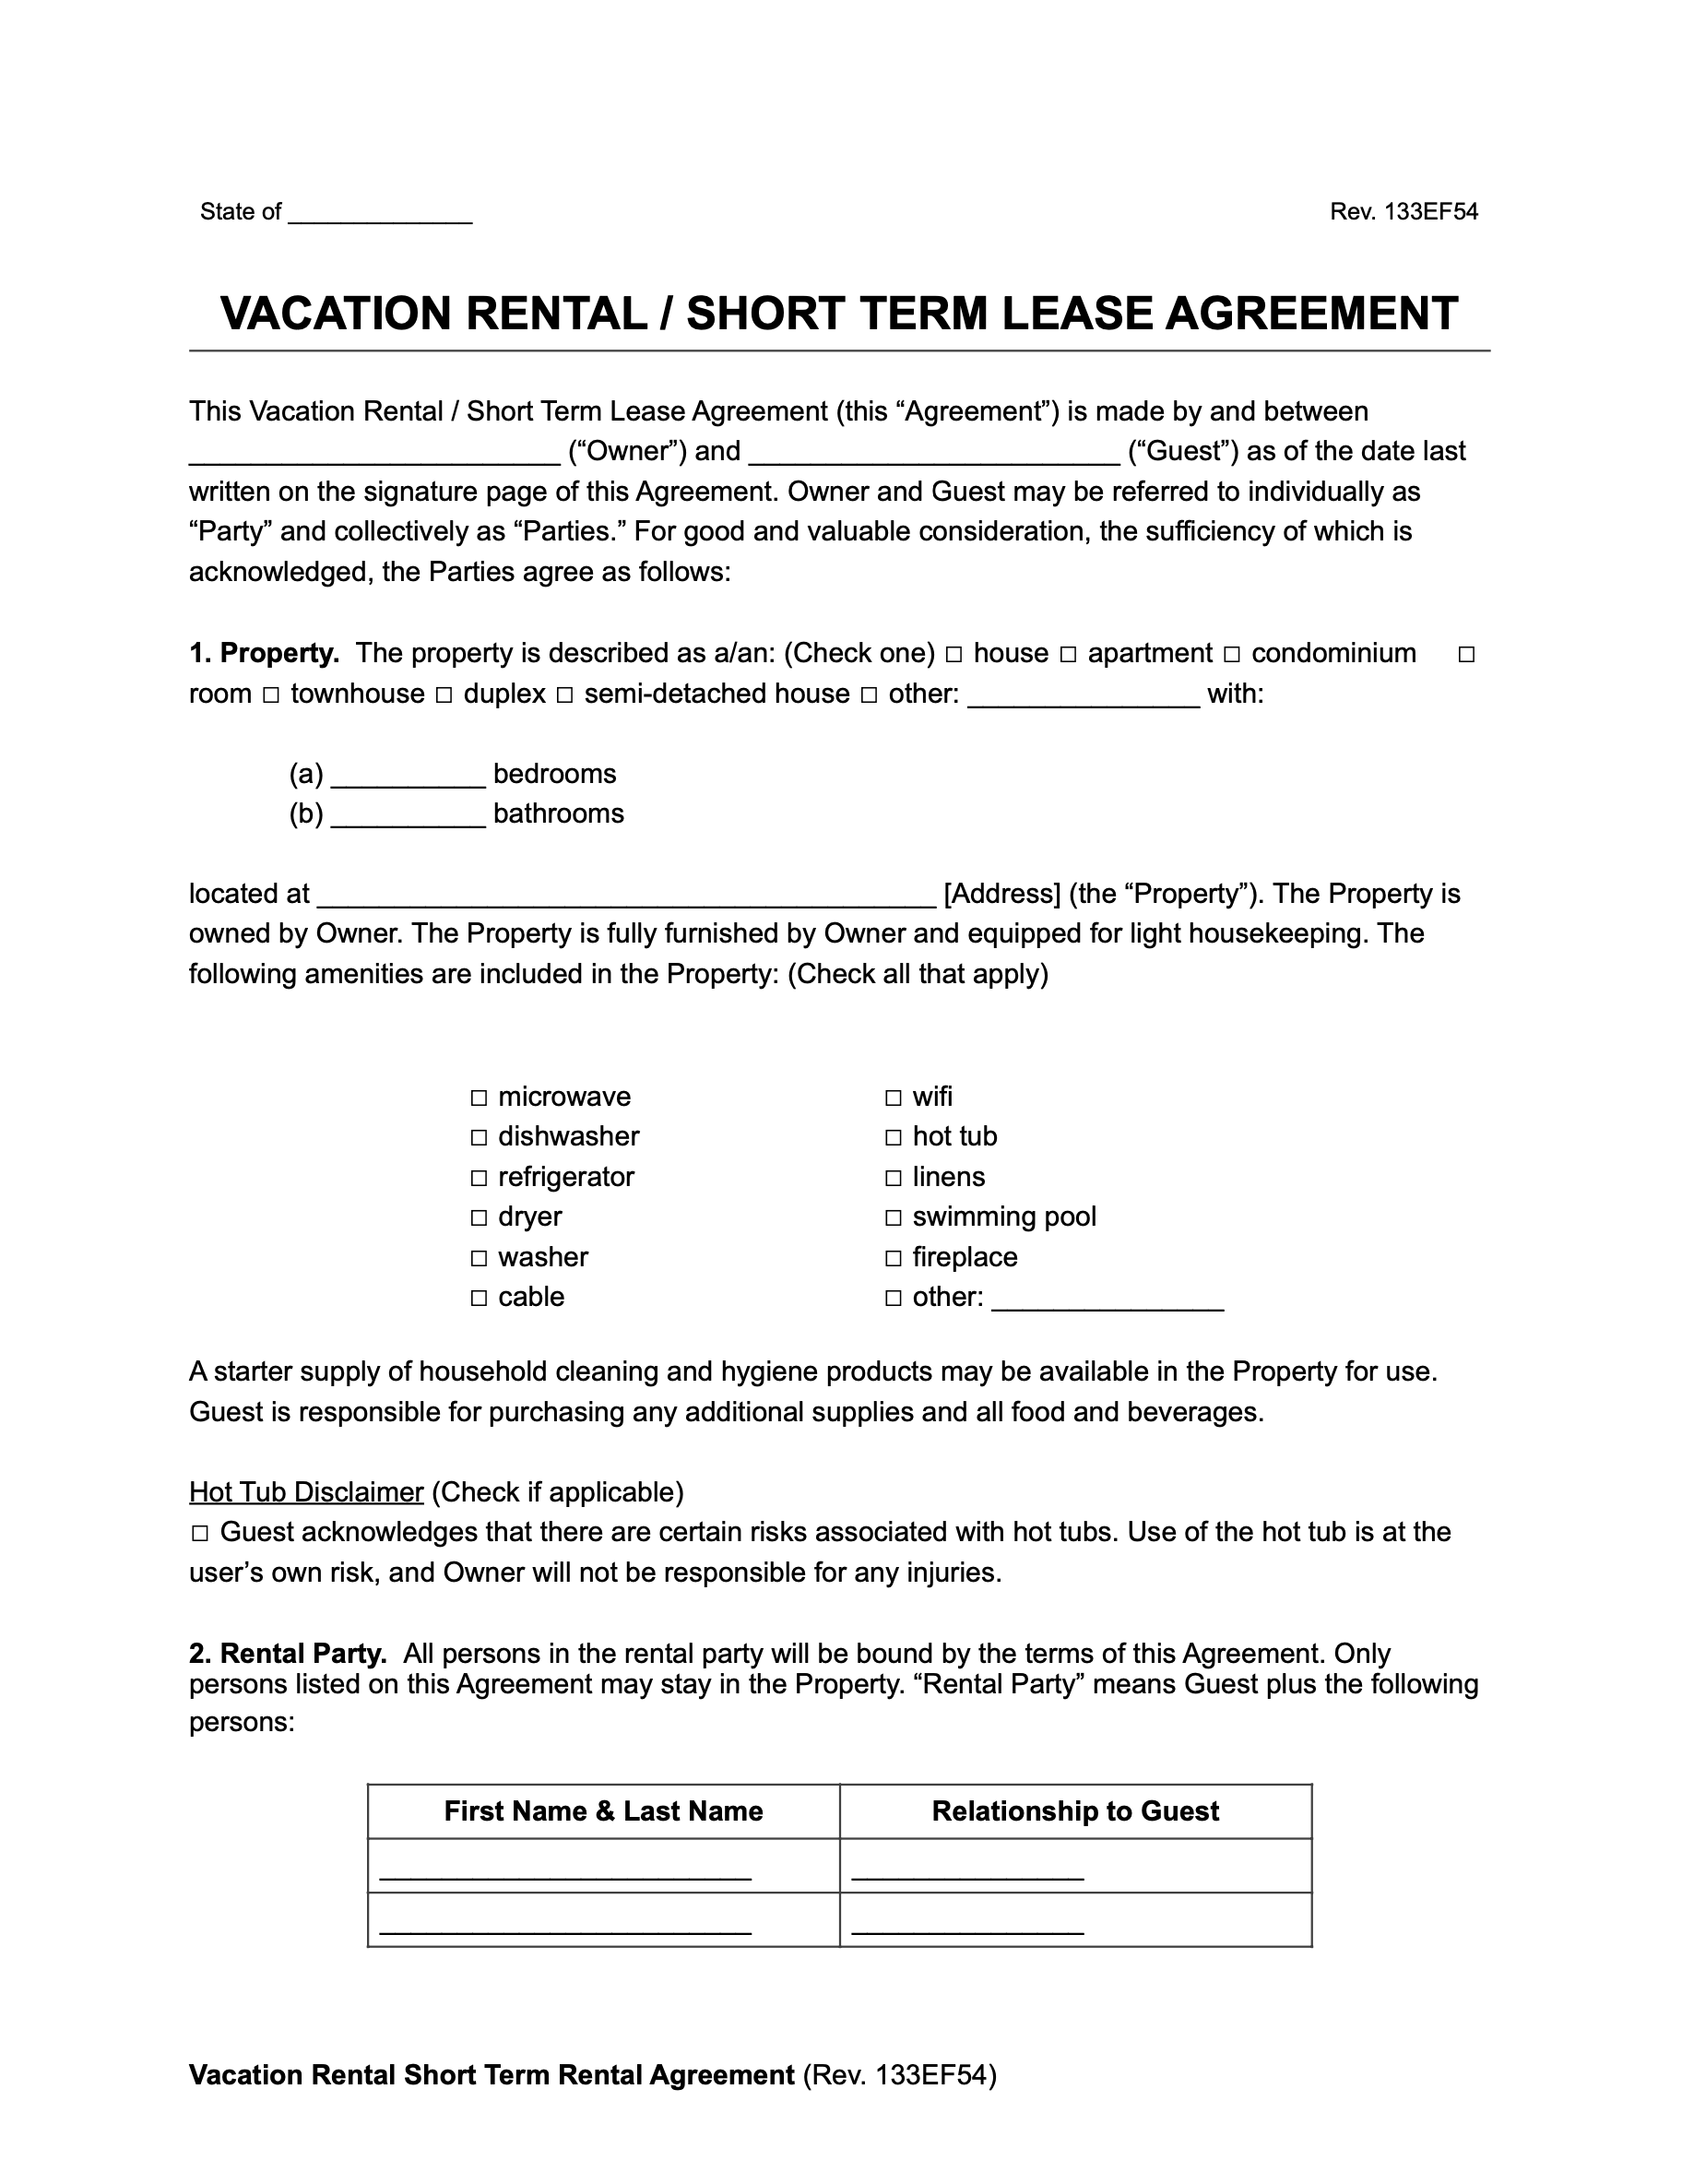
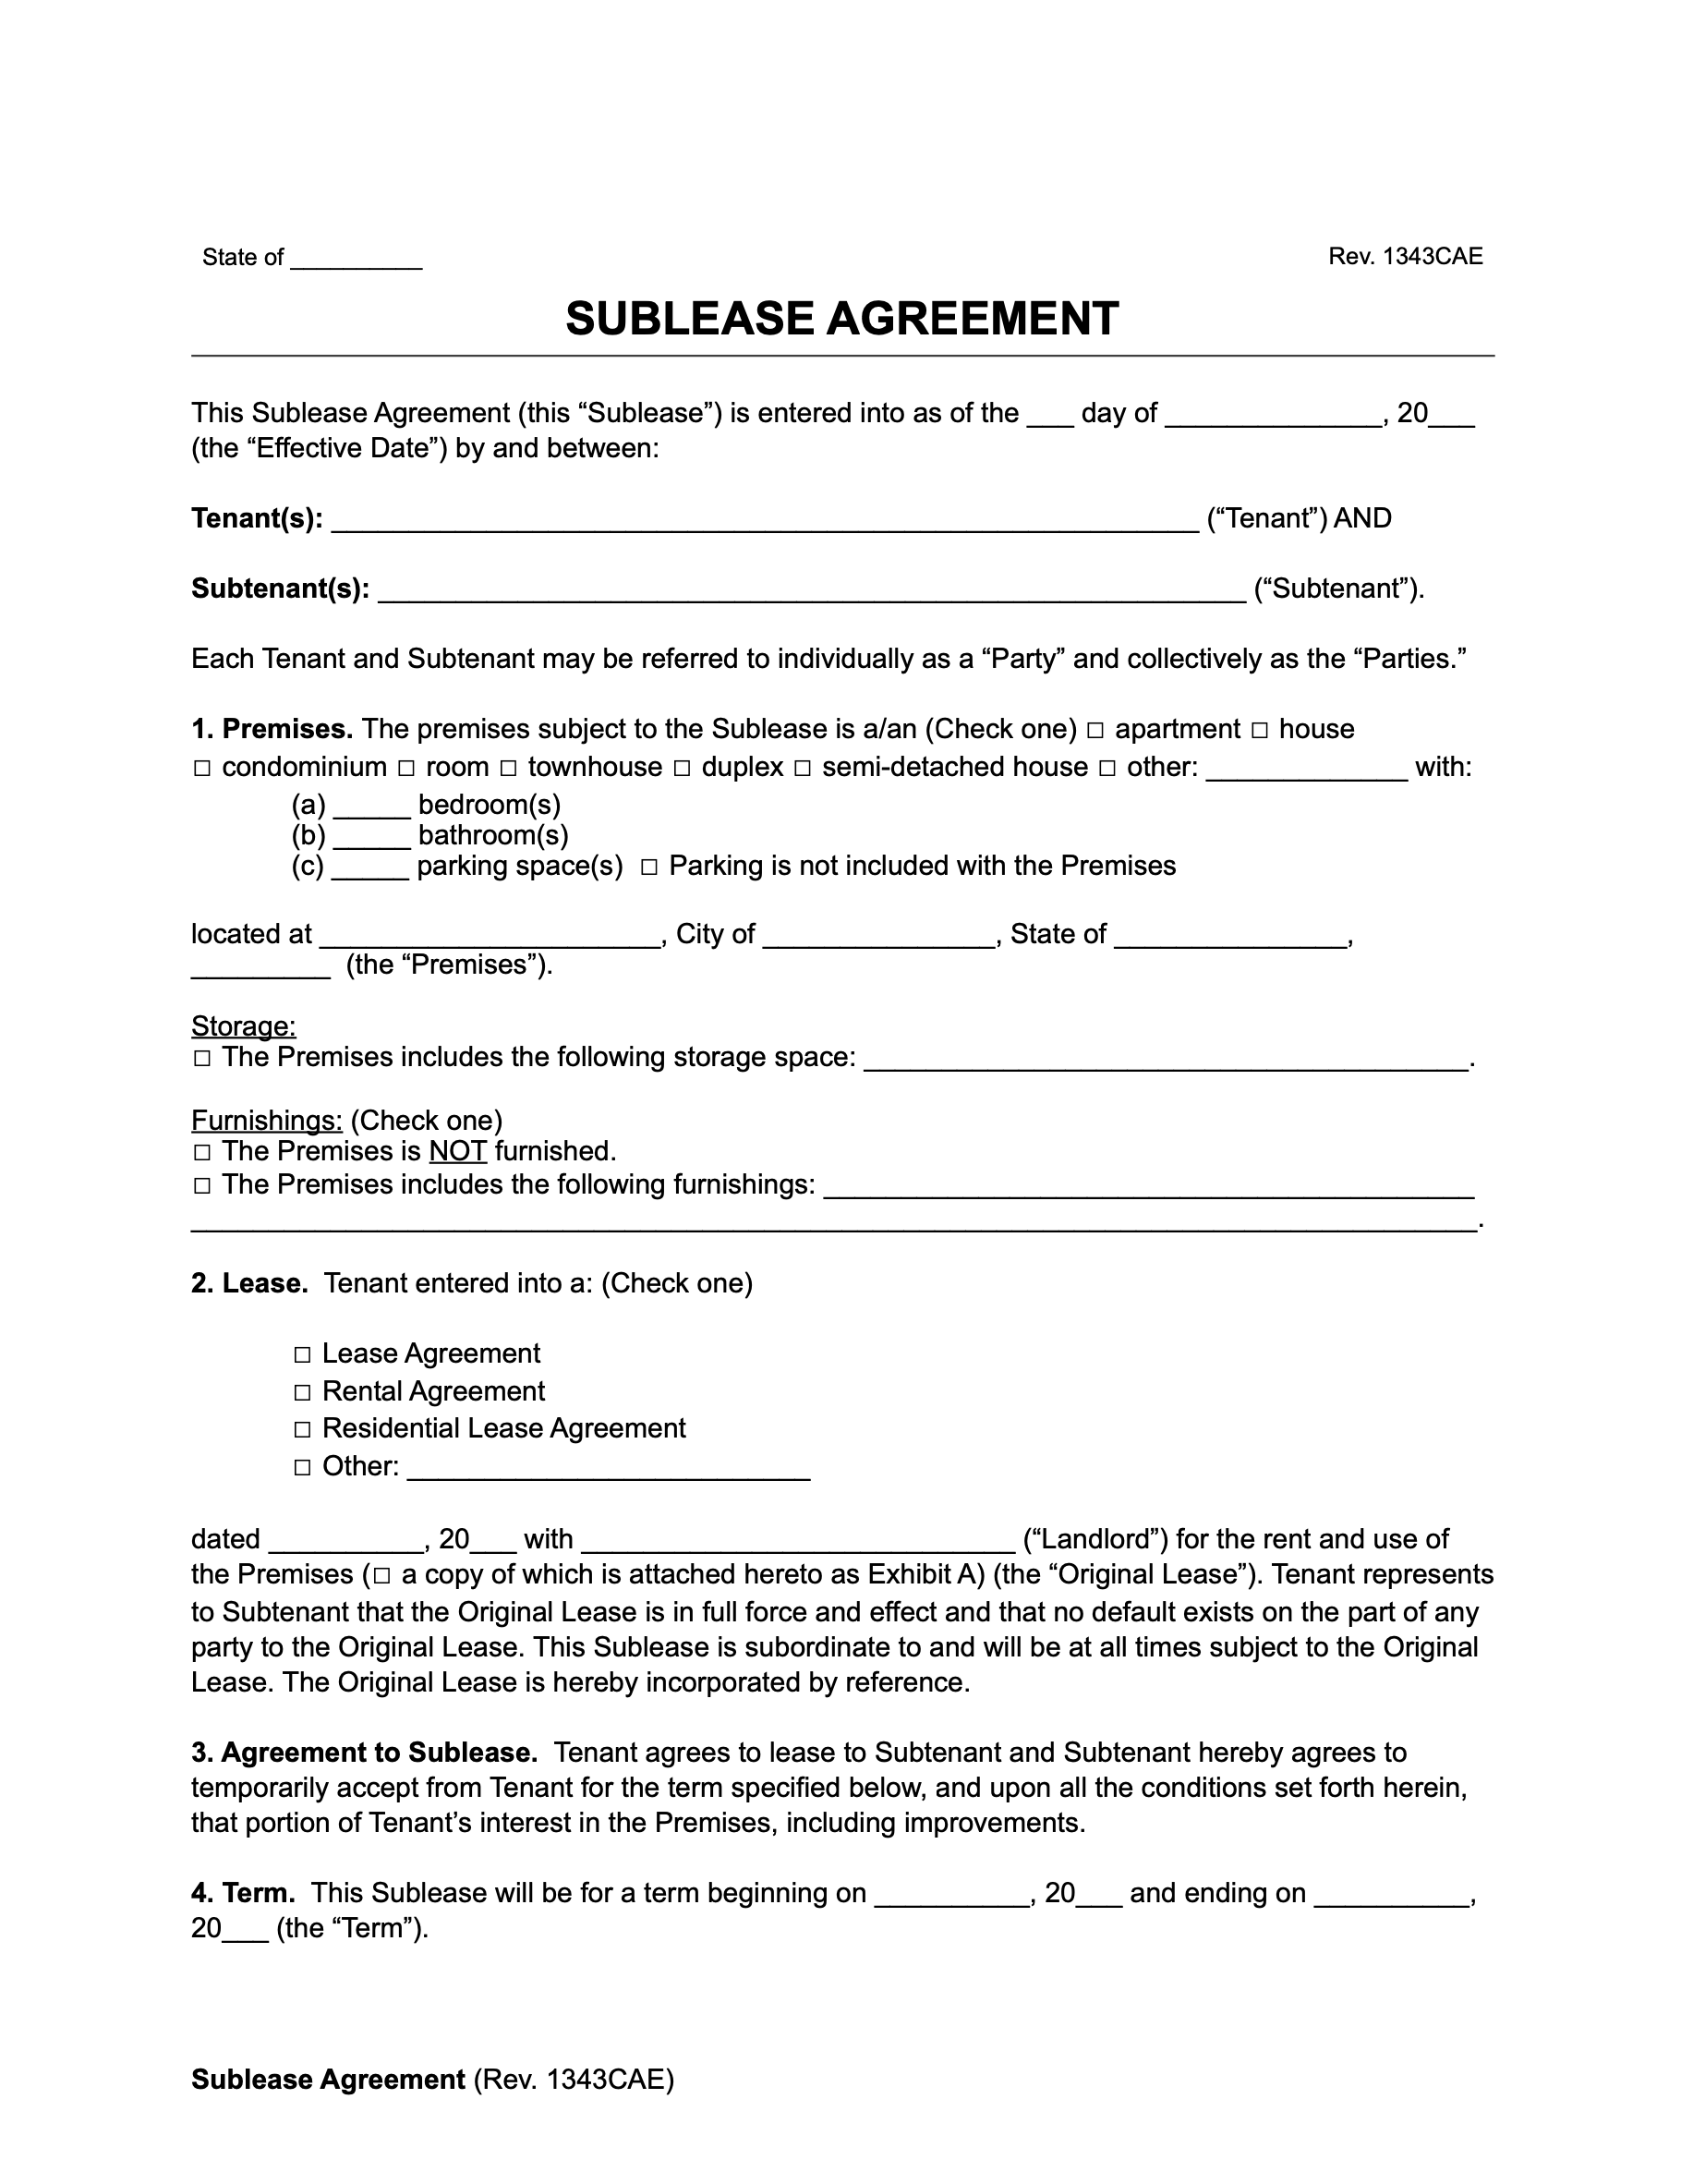
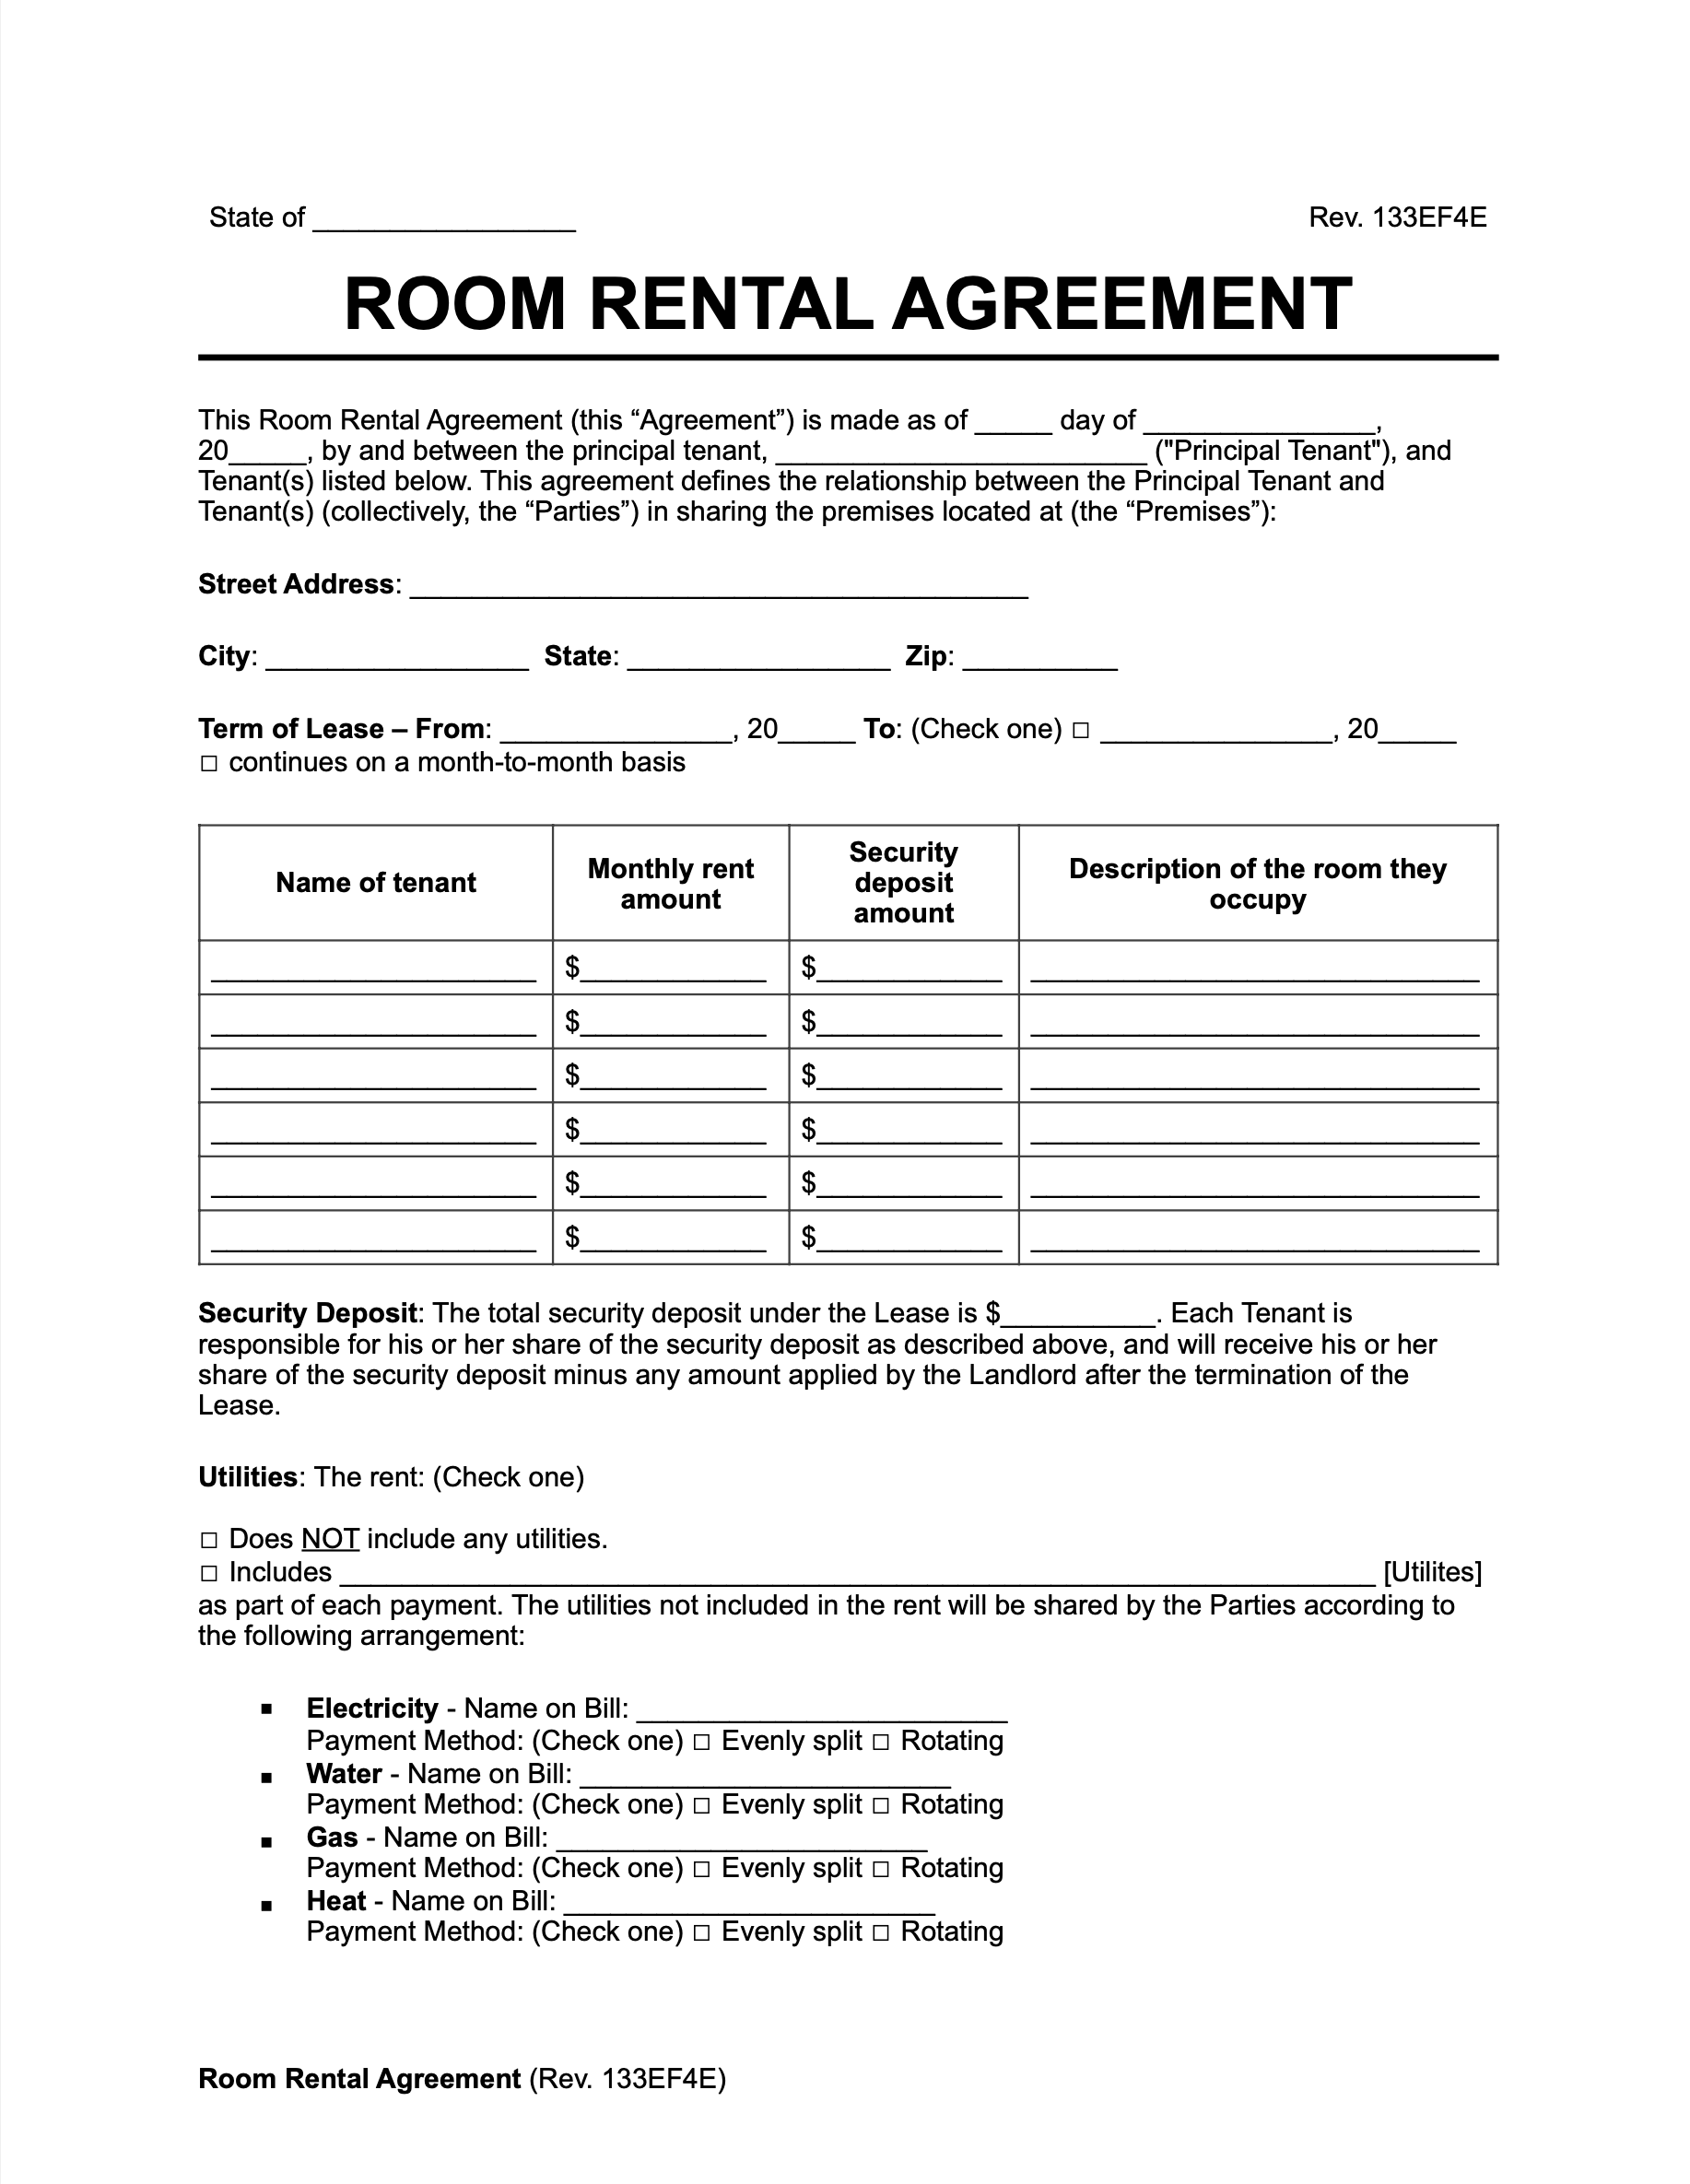
Free Rent-to-Own Agreement
Use our Rent-to-Own Agreement to outline the terms of a contract where a tenant rents and later has the option to purchase your property.
-
1
Choose a form
Browse and select the document you need
-
2
Answer Questions
Go through our builder and complete your form in 5 minutes
-
3
Download & E-sign
Receive your document in PDF or Word format
 Create Document
- Download as PDF and Word
- Access from desktop, tablet & mobile
- E-signature
- Yearly Updates & Notifications
A Rent-to-Own Agreement is a contract between a landlord and a tenant, allowing the tenant to buy the leased property after a certain period.
This is common for tenants wanting to rent for a while and buy later.
Some renters might lack the current means to finance a purchase but may be able to do so later when their finances improve.
No matter the situation you see renters in, you need a rent-to-own agreement that can help protect your rights as a landlord should you offer the option to buy.
Too many landlords make the mistake of “handshake deals” that later implode without written proof of the agreed-upon terms. This can lead to costly litigation and significant headaches, which you could have easily avoided.
What is a Rent-to-Own Agreement?
A rent-to-own agreement is a legally binding contract between a landlord and tenant. A rental agreement gives a tenant an option to buy later.
The option is usually for a negotiated purchase price and includes other key terms.
Many agreements specify the time the tenant will rent before their option to buy is exercisable or runs out. The contract typically contains standard lease agreement details and expectations about the eventual purchase.
Why Do You Need a Rent-to-Own Agreement?
A rent-to-own agreement is necessary because of the significant legal implications of a rent-to-purchase deal.
As a property owner entering this agreement, you agree to offer a home at a specific price and under certain other conditions.
You want to ensure these details are in writing so your tenant cannot claim the terms were different later.
Too many landlords learn the hard way that agreements not in writing are often unenforceable.
In many states, they are entirely unenforceable if not in writing in rent-to-own situations.
You must use a rent-to-own agreement to make your deal enforceable and protect your rights.
When Do You Use a Rent-to-Own Agreement?
You should use a rent-to-own agreement in situations such as:
- You have a tenant that is interested in buying the house
- You want to sell the home to a potential tenant
- The tenant needs some time to secure the necessary loan for the house
- You are having trouble selling the rental property to another landlord
What to Include in a Rent-to-Own Agreement?
Most rent-to-own agreements include items like the following:
- Length of the rental lease
- Price of the property
- An option fee, if any
- Rent credit toward the payment
- How the buyer will fund the purchase price
You must ensure your agreement is in writing when entering a rent-to-own situation. Failure to do so can result in litigation, lost deals, and frustration.
As a responsible landlord, you can ensure your deal is in writing with our rent-to-own agreement. Let us help you customize your form that fits your needs.
How to Write a Rent-to-Own Agreement
Follow the steps below to write a rent-to-own agreement.
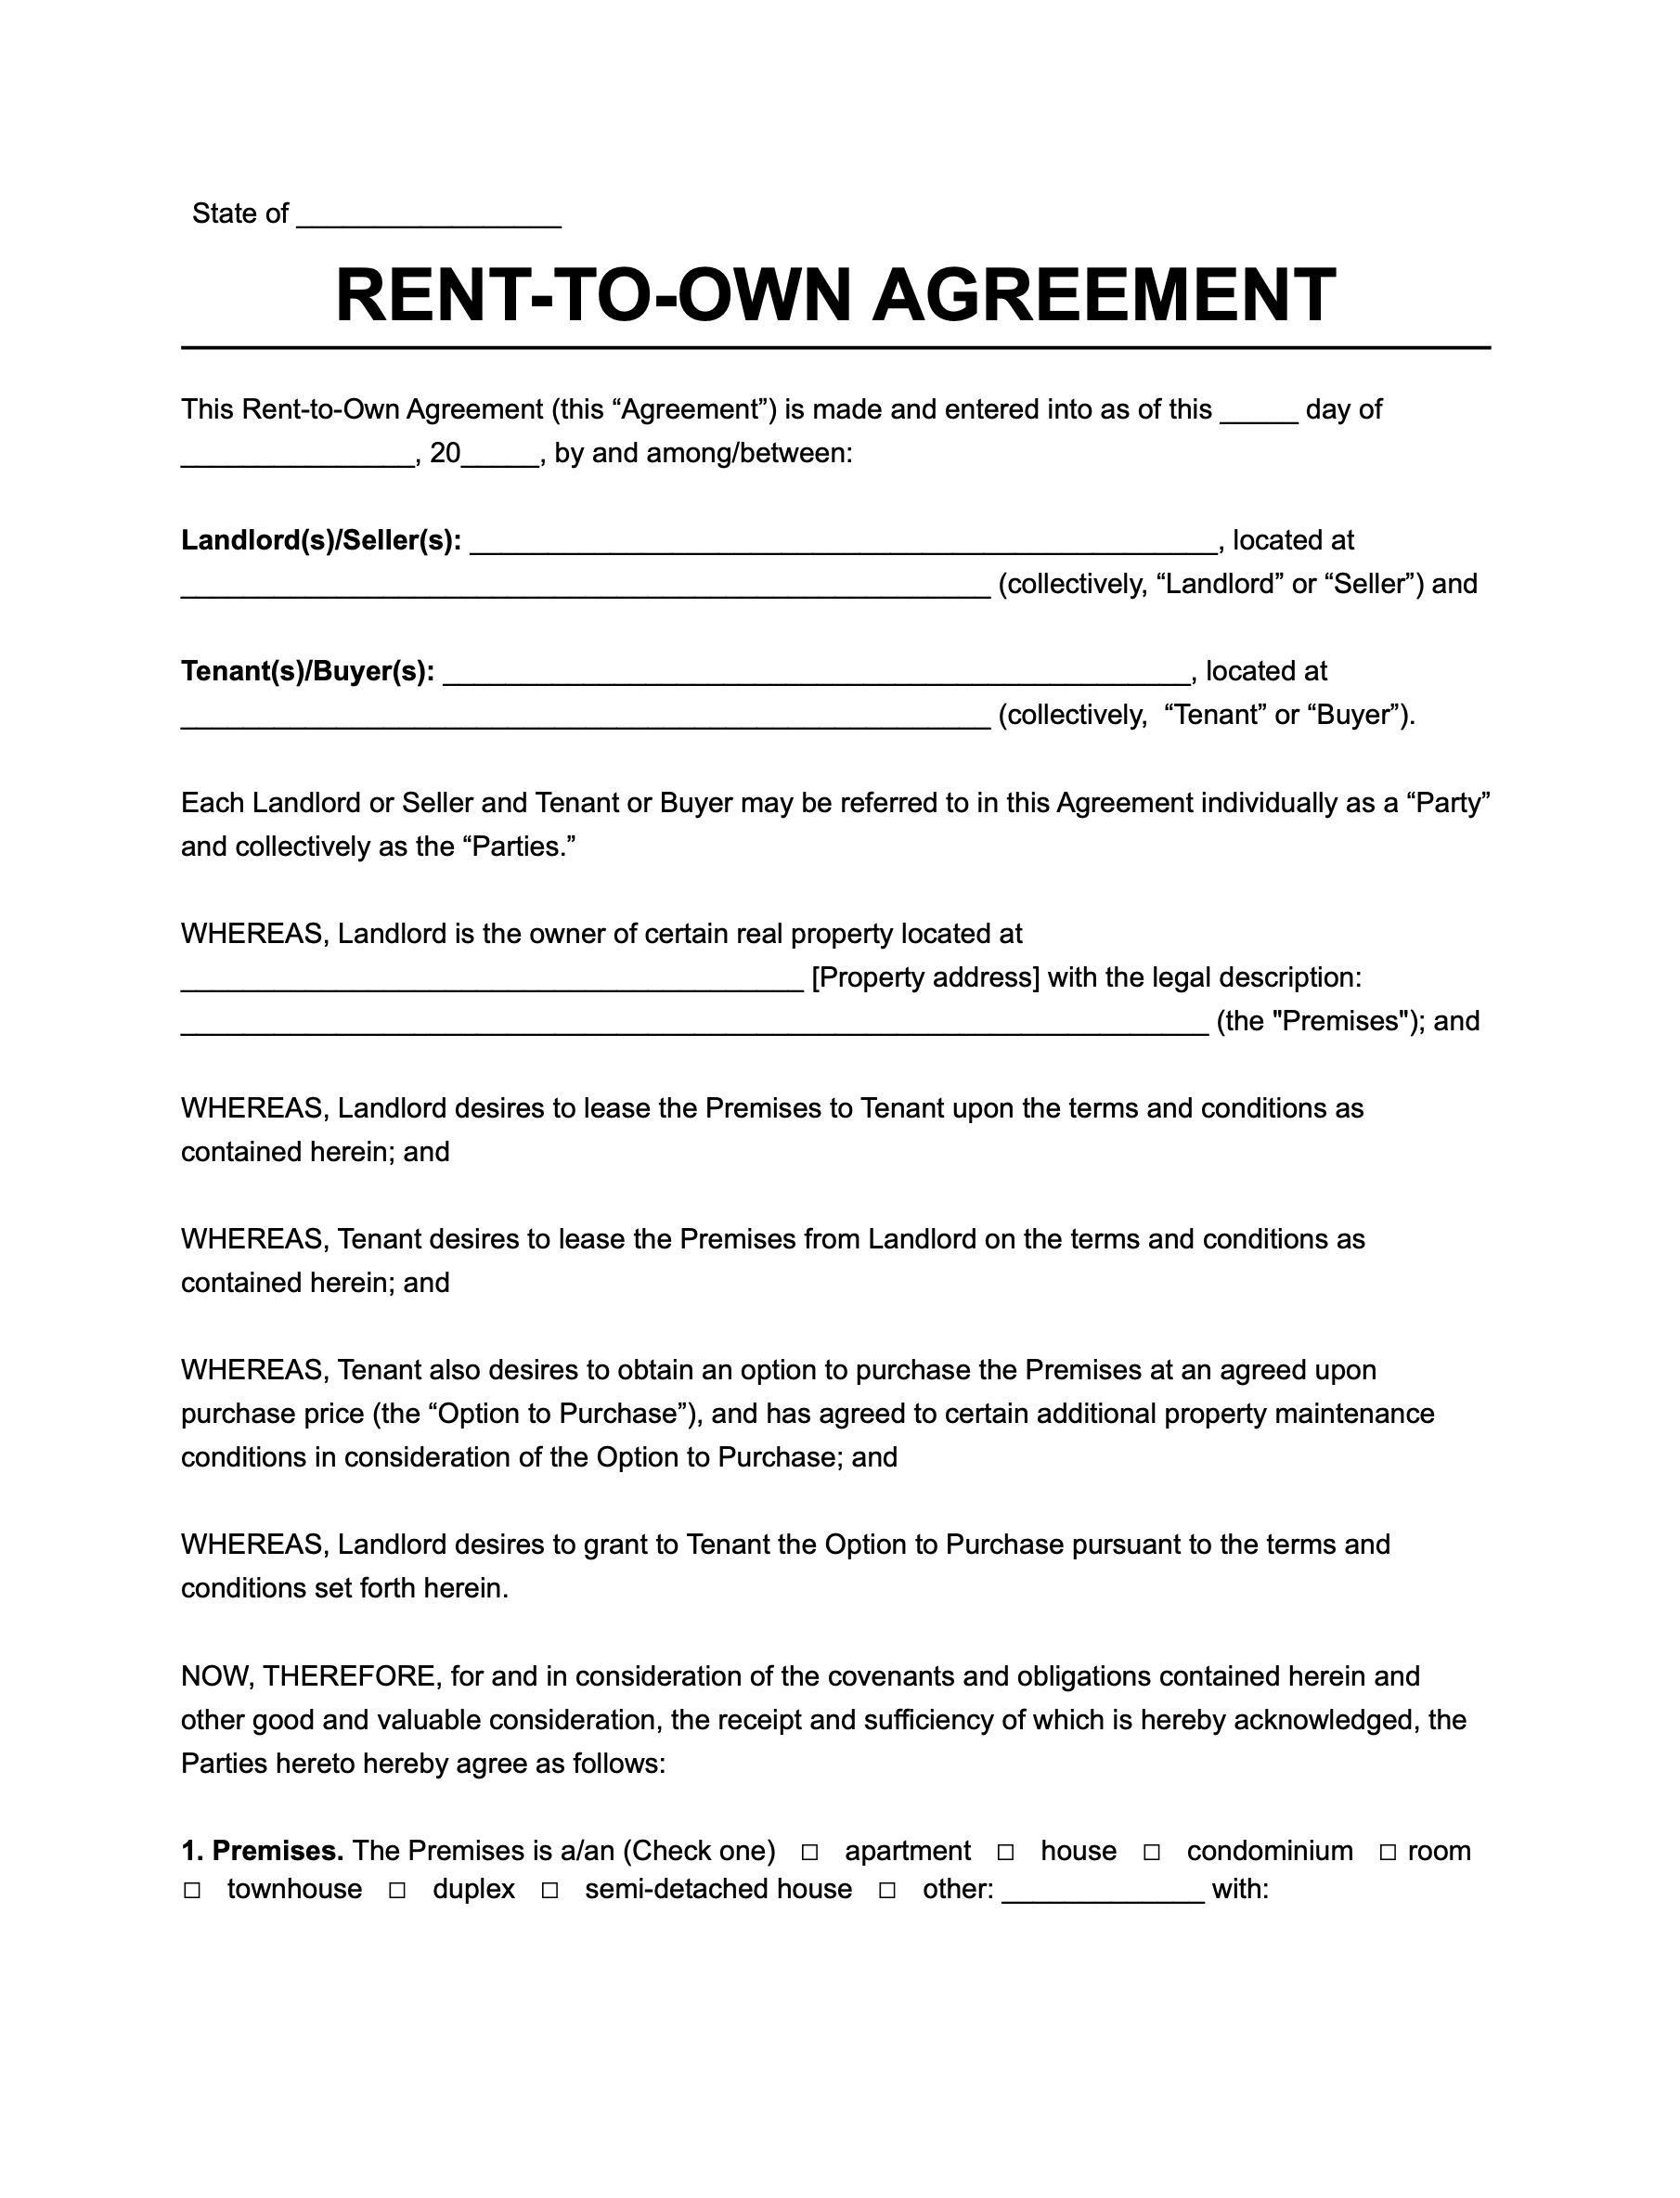
Step 1 – Fill In the Effective Date
Enter the effective date of the rent-to-own agreement.
Step 2 – Provide Landlord and Tenant Details
State the full name and mailing address of the landlord (seller) and tenant (buyer).
Step 3 – Specify Property Address and Legal Description
Note the address of the property the tenant will rent and have the option to buy. Also, include the property’s legal description.
Step 4 – Enter Premises Information
Write information regarding the type of property the landlord is leasing.
Step 5 – Note Lease Term
State the lease start date and whether the lease is fixed or month-to-month.
Step 6 – Fill In Rent Details
Provide the amount of rent, the day rent is due, and whether or not the landlord charges a fee for a returned check. Also, note any prorated rent amounts.
Step 7 – Describe Guaranty
Choose whether or not you require the tenant to have a guarantor or co-signer.
Step 8 – Note Late Fees
Enter any late fees the landlord charges if the tenant does not pay the rent on time.
Step 9 – Explain Utilities
Specify the utilities the tenant must pay during the lease term.
Step 10 – Fill In the Security Deposit Details
Write the security deposit amount and whether the landlord will pay the tenant interest on the deposit. Also, note when the landlord must return the security deposit and how he or she shall handle the disbursement of funds.
Step 11 – Describe the Use of Premises
Describe the premises and how the tenant may use the rental property.
Step 12 – Identify Inspection Checklist Requirement
Specify whether or not the tenant must fill out an inspection checklist upon move-in and move-out.
Step 13 – Note Maintenance and Repair Policy
Write any maintenance and repair costs the tenant is responsible for.
Step 14 – Outline Smoking Rules
State whether or not you allow smoking on the premises.
Step 15 – Document Pet Details
Specify whether or not you allow pets; if so, write the type of pet the tenant may keep on the property.
Step 16 – Choose Assigning and Subletting Option
Check an option to allow or not allow assigning and subletting in your rental.
Step 17 – Note Lead-Based Paint Disclosure Option
Choose whether the property was built before or after 1978. If before, provide the tenant a copy of a lead-based paint disclosure form.
Step 18 – Check Military Clause Option
Note whether or not the tenant may terminate the rent-to-own contract if called to active duty in the U.S. Armed Forces.
Step 19 – Choose Renter’s Insurance Option
Check whether or not the tenant must obtain renter’s insurance.
Step 20 – Mark Mechanic’s Lien Option
Note whether or not the landlord (or any service provider) can file a mechanic’s lien if the tenant improves the property but does not pay the service provider.
Step 21 – Note Default Details
State what happens in the event of a contract default.
Step 22 – Enter Purchase Option Information
Fill in details for the purchase option, including any agreed-upon purchase price, an option term, and any option considerations.
Step 23 – Write Purchase Deposit Details
State whether or not the landlord requires an earnest money deposit if the tenant chooses to purchase the property.
Step 24 – Fill in Personal Property Information
Include any personal property that shall or shall not come with the sale of the piece of real estate.
Step 25 – Enter Closing and Settlement Details
Note details concerning purchase amount, payment method, and seller and buyer closing costs.
Step 26 – Enter Title Details
Specify information for title insurance,m such as who pays for the insurance policy, who selects the insurance polity, and whether or not the policy includes exceptions or exclusions.
Step 27 – Select Governing State Law
Choose the state law that governs the rent-to-own agreement.
Step 28 – Choose the Dispute Option
Note whether or not the landlord and tenant (seller and buyer) shall settle disputes through a court, binding arbitration, mediation, or mediation then arbitration.
Step 29 – Fill In Miscellaneous Details
Add miscellaneous details you want to include in the contract.

